Starting with Arc v3.3, the cube viewer comes with styles! From a cube view, you can select the style you want to use and access the View Style Editor to create your own styles.
Accessing the View Style Editor
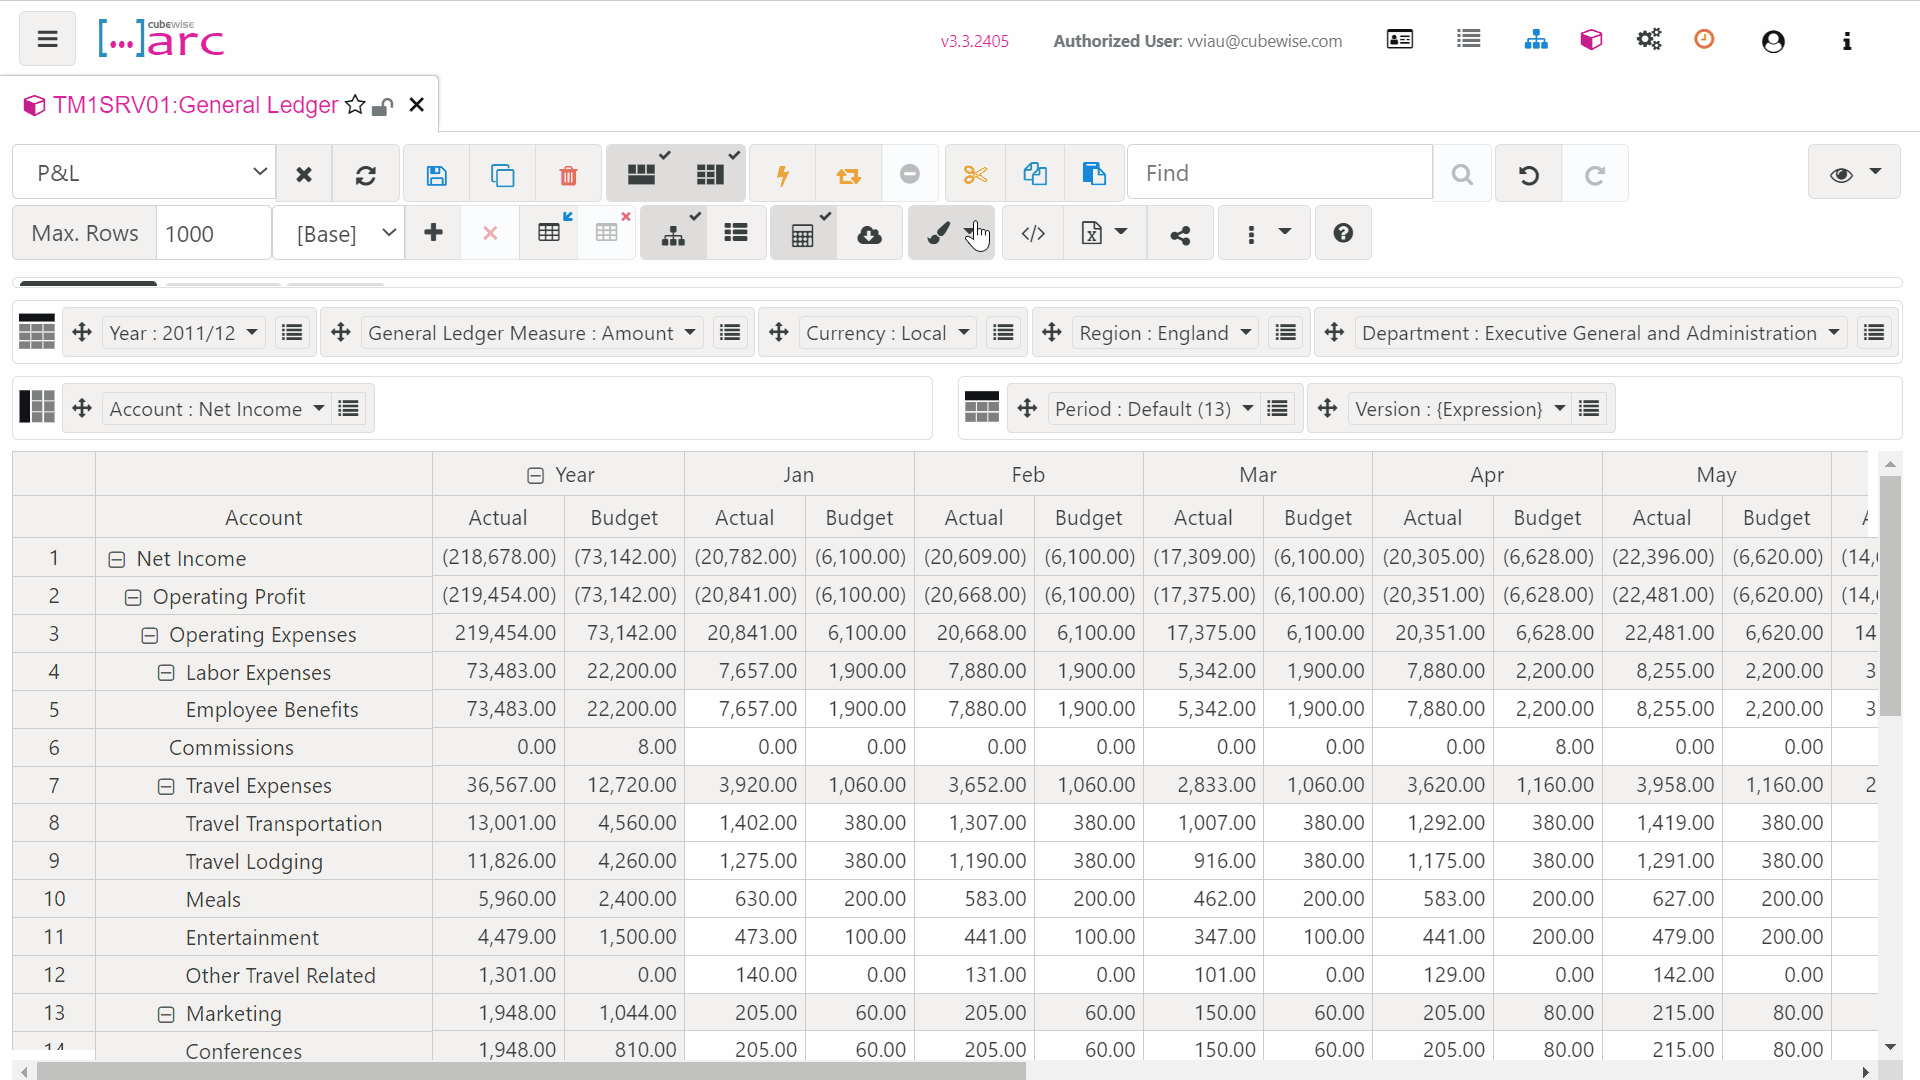
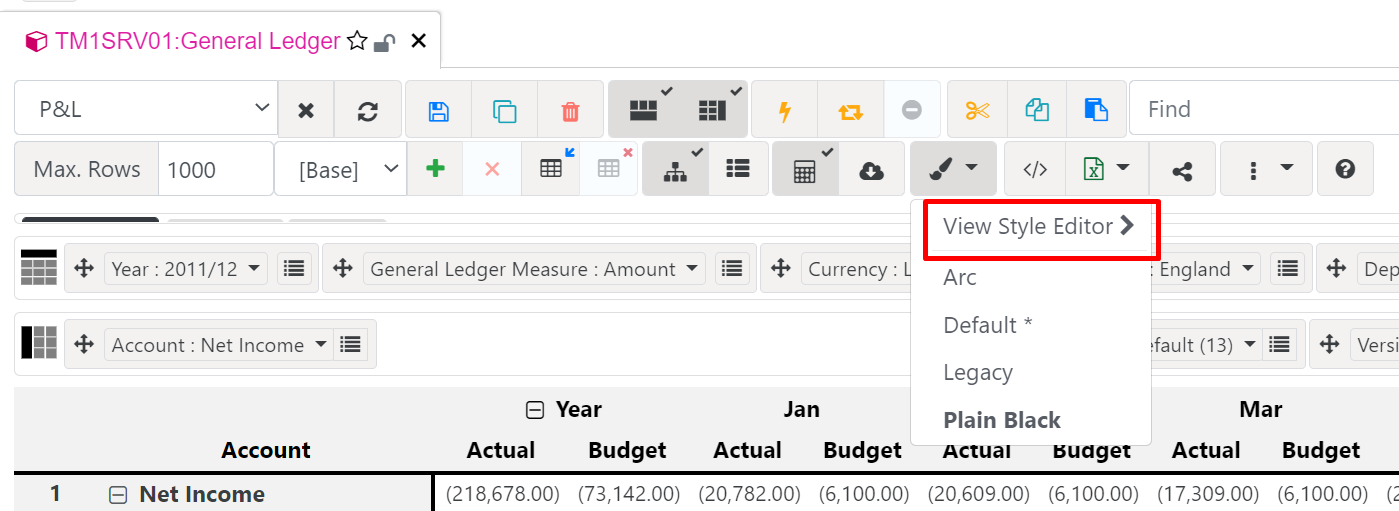
To access the View Style Editor, you can either access it from a cube view as below:
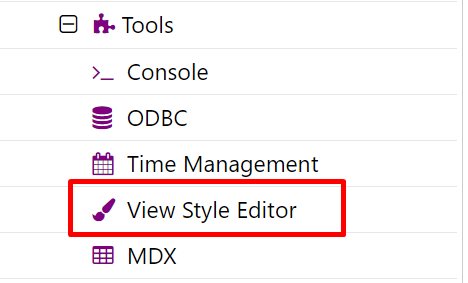
The other way to access it, is to expand Tools and click on View Style Editor:
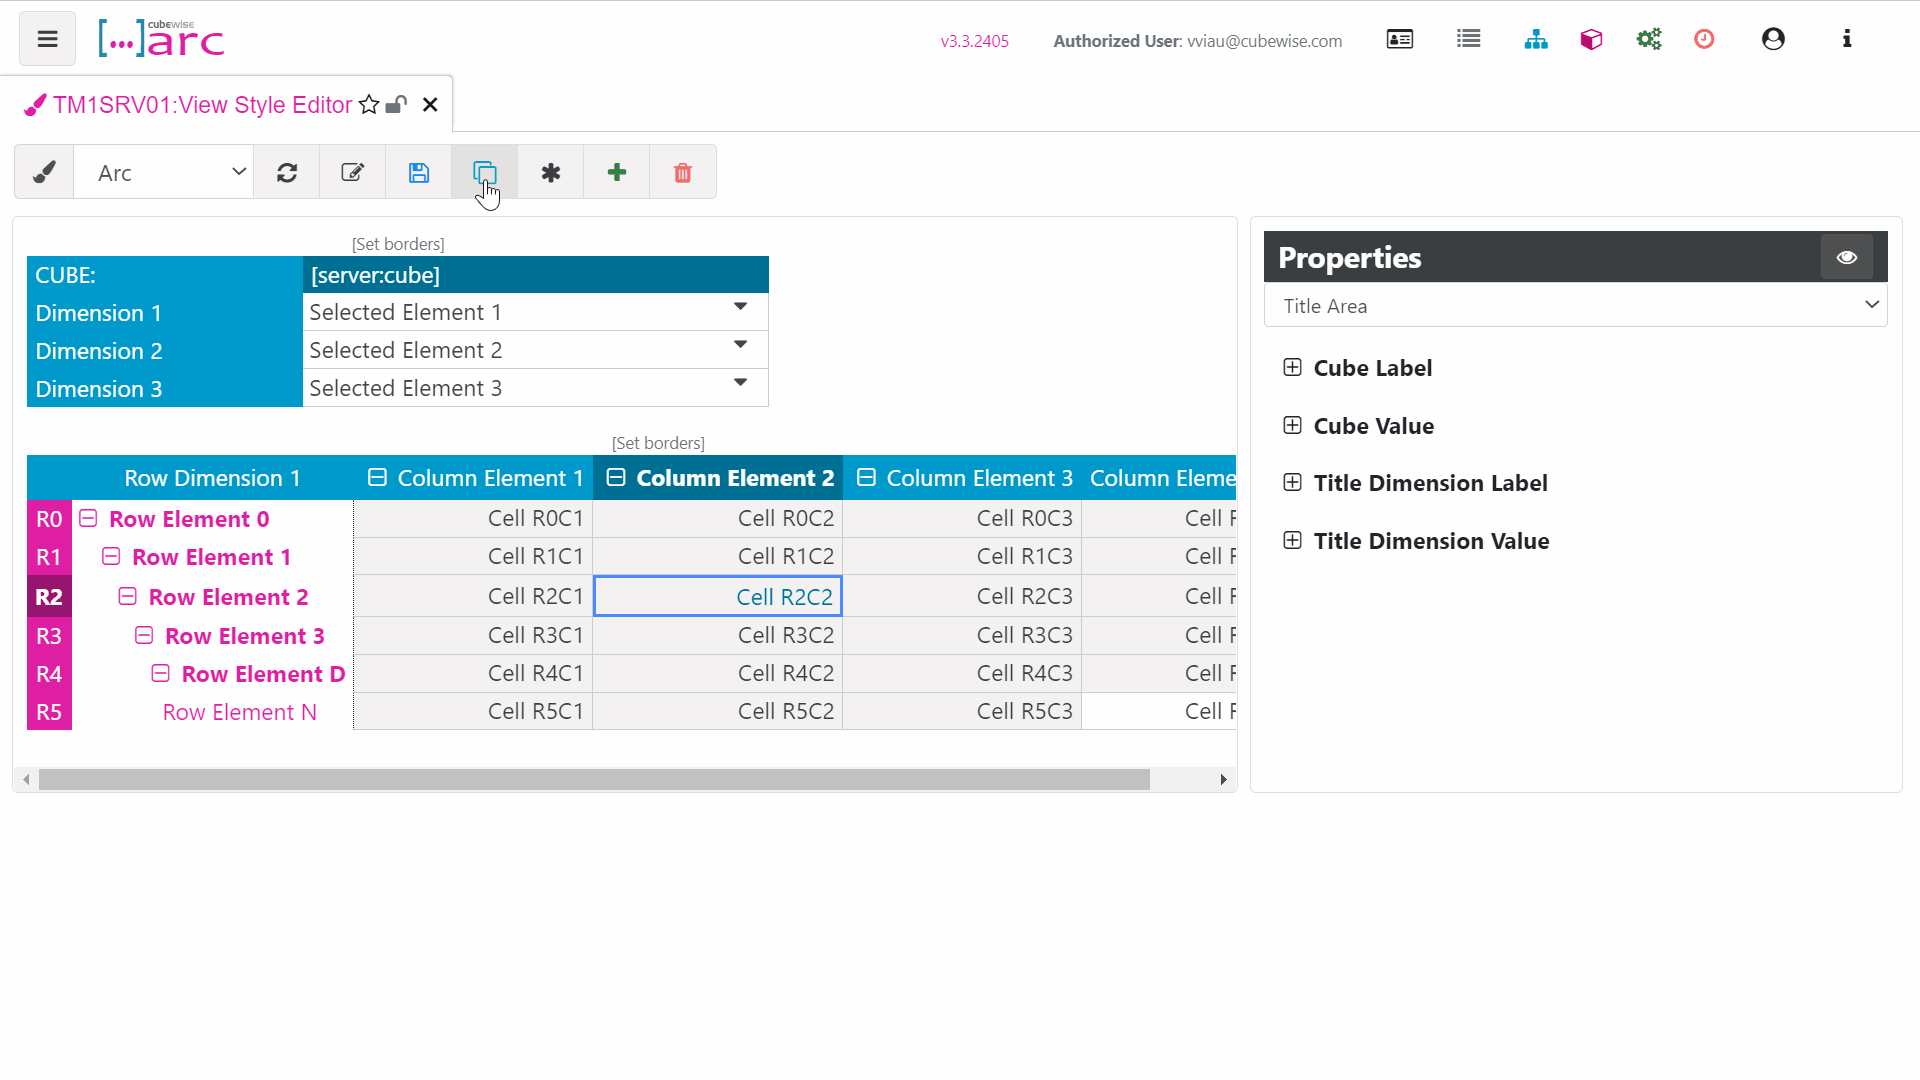
Then it will open the View Style Editor into a new tab as below:
From the top bar buttons you can do the following actions:
-
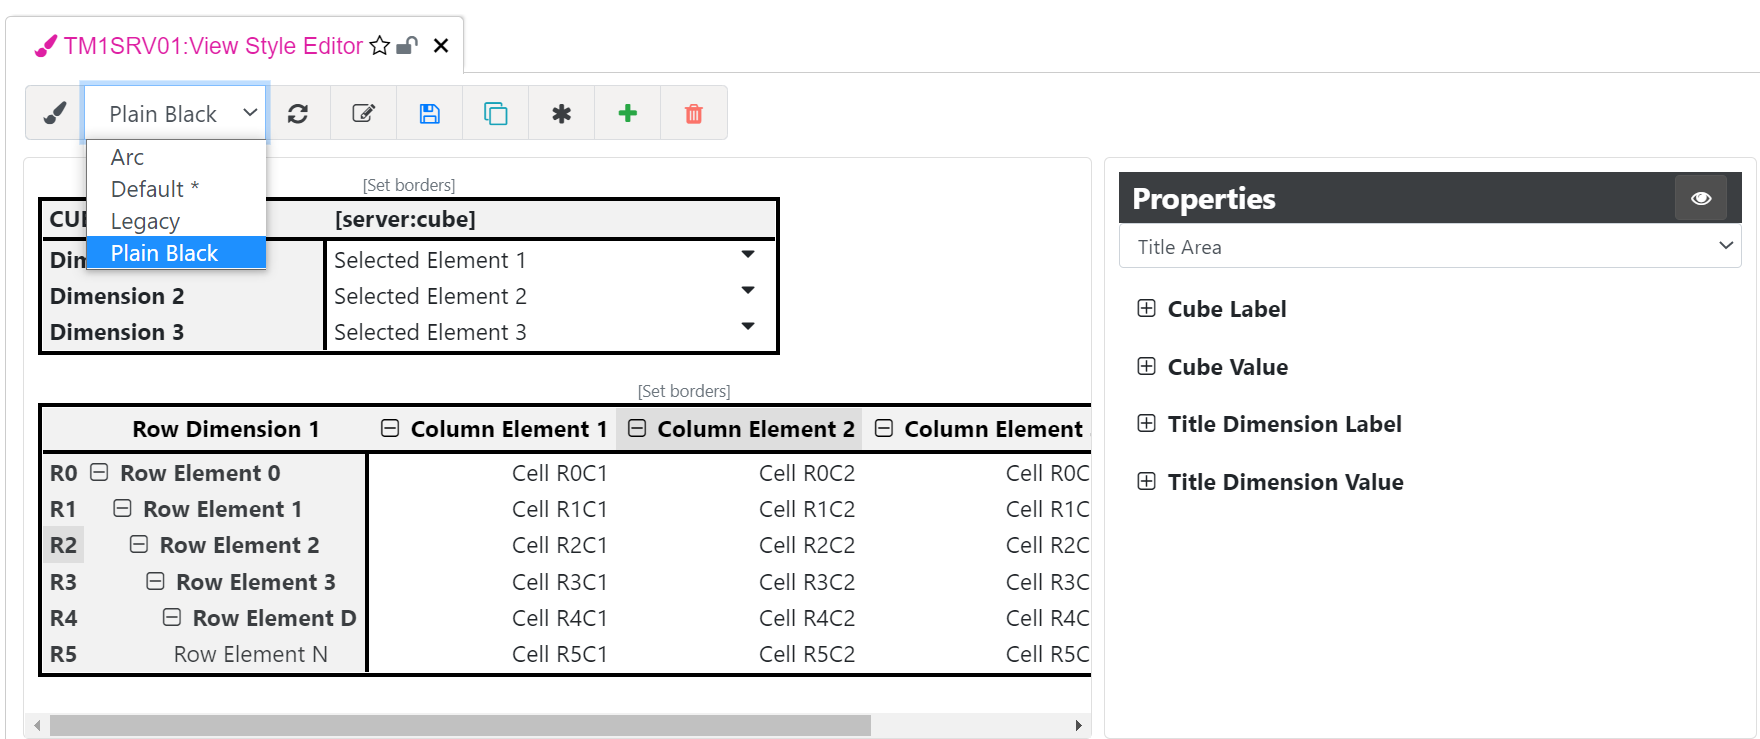
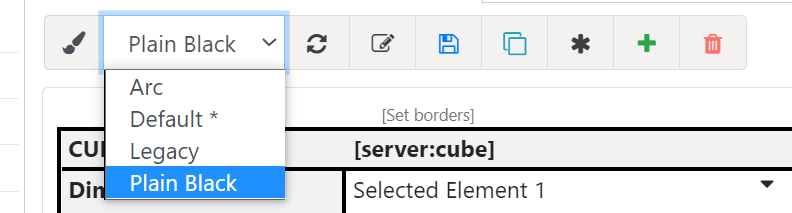
Change the style using the dropdown (* means this is the default style).
-
Load the Style
-
Edit the JSON directly
-
Save
-
Save As
-
Define as default
-
Add and Delete the style
Creating a new style
To create a new style, you can either click the Save As or the Add buttons. In the example below, we click the Save As button and name the style “My New Style”
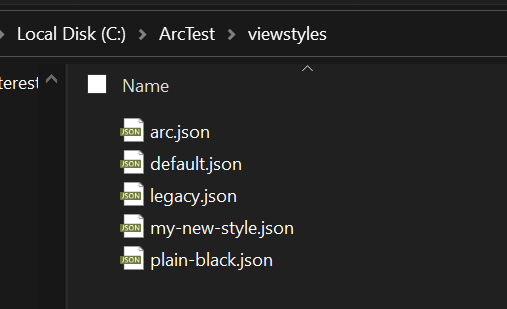
All styles are stored into the Arc folder under viewstyles:
You can also add new styles directly into the folder and then refresh Arc. More samples can be downloaded from the views styles samples repository in GitHub:
Editing a style
To edit a style, you can edit the JSON directly to make multiple changes at the same time. In the example below, we replace one color with another one in all locations:
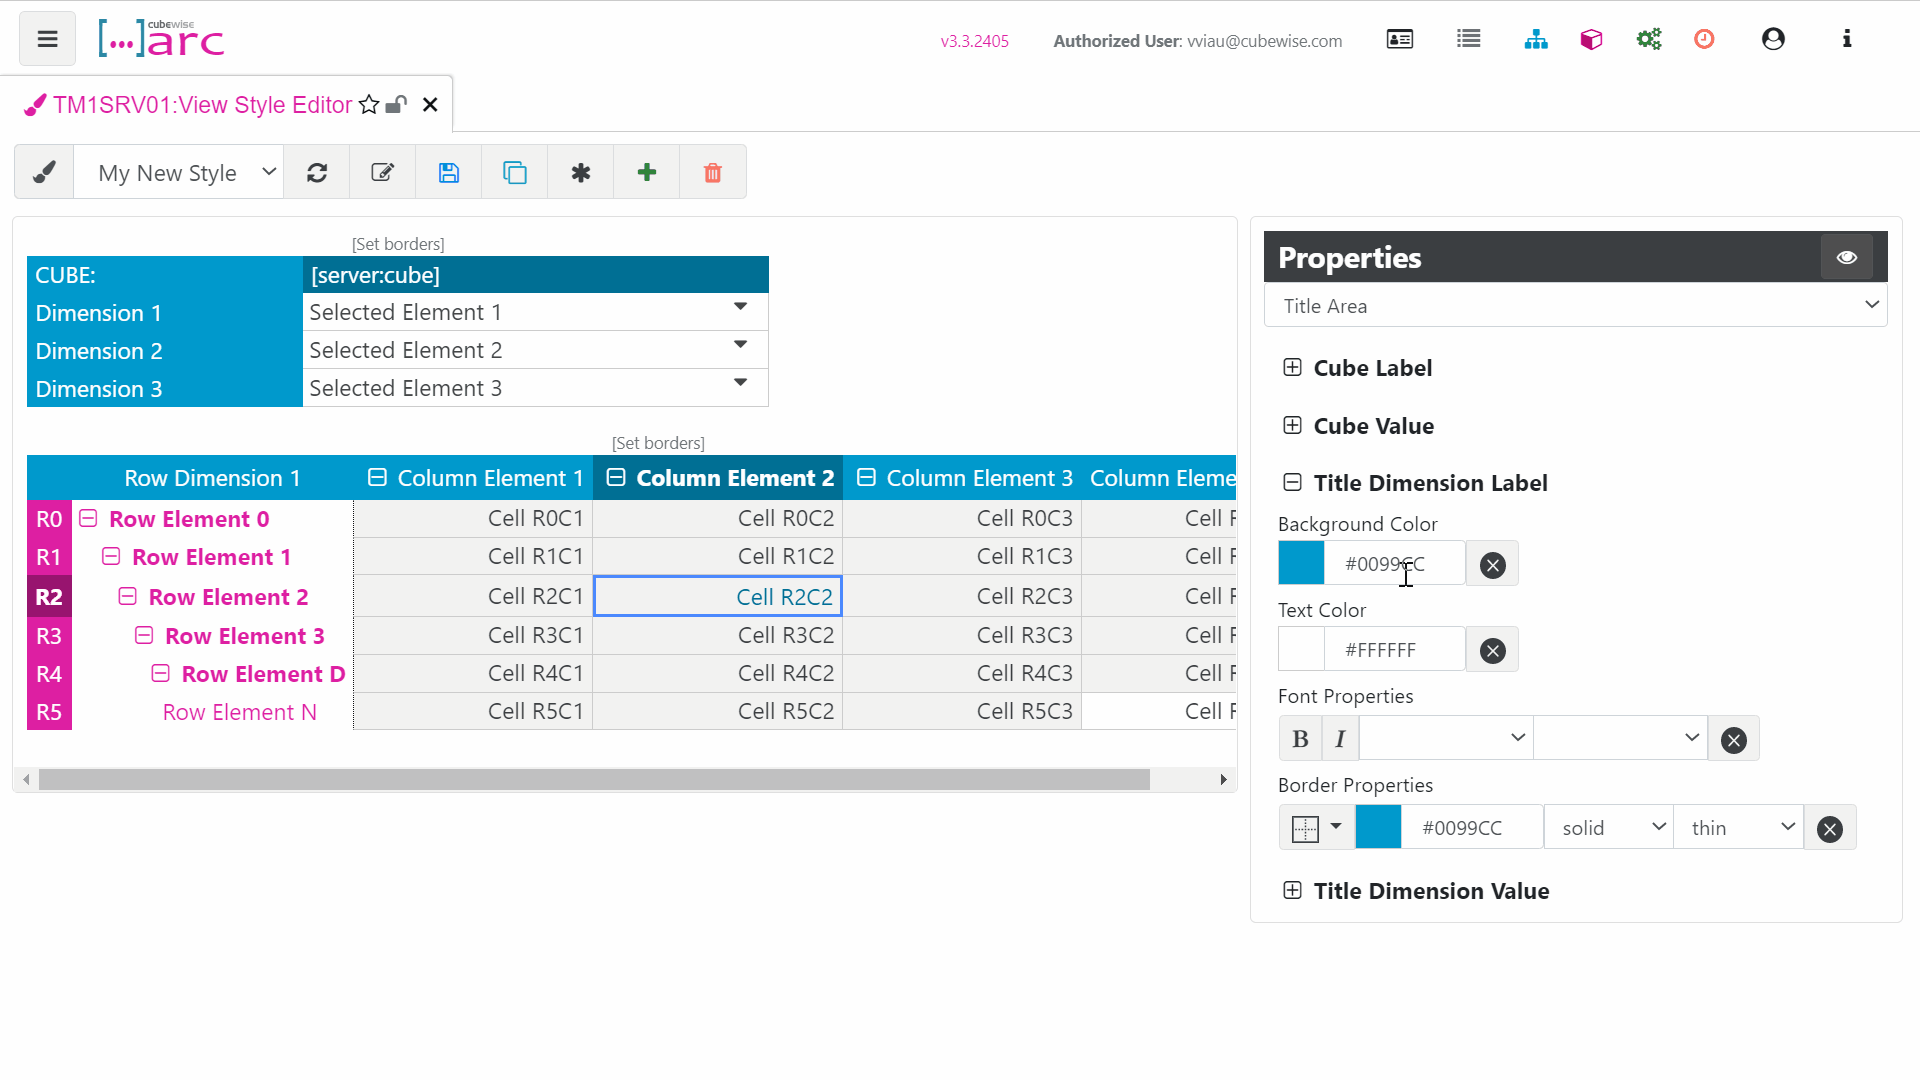
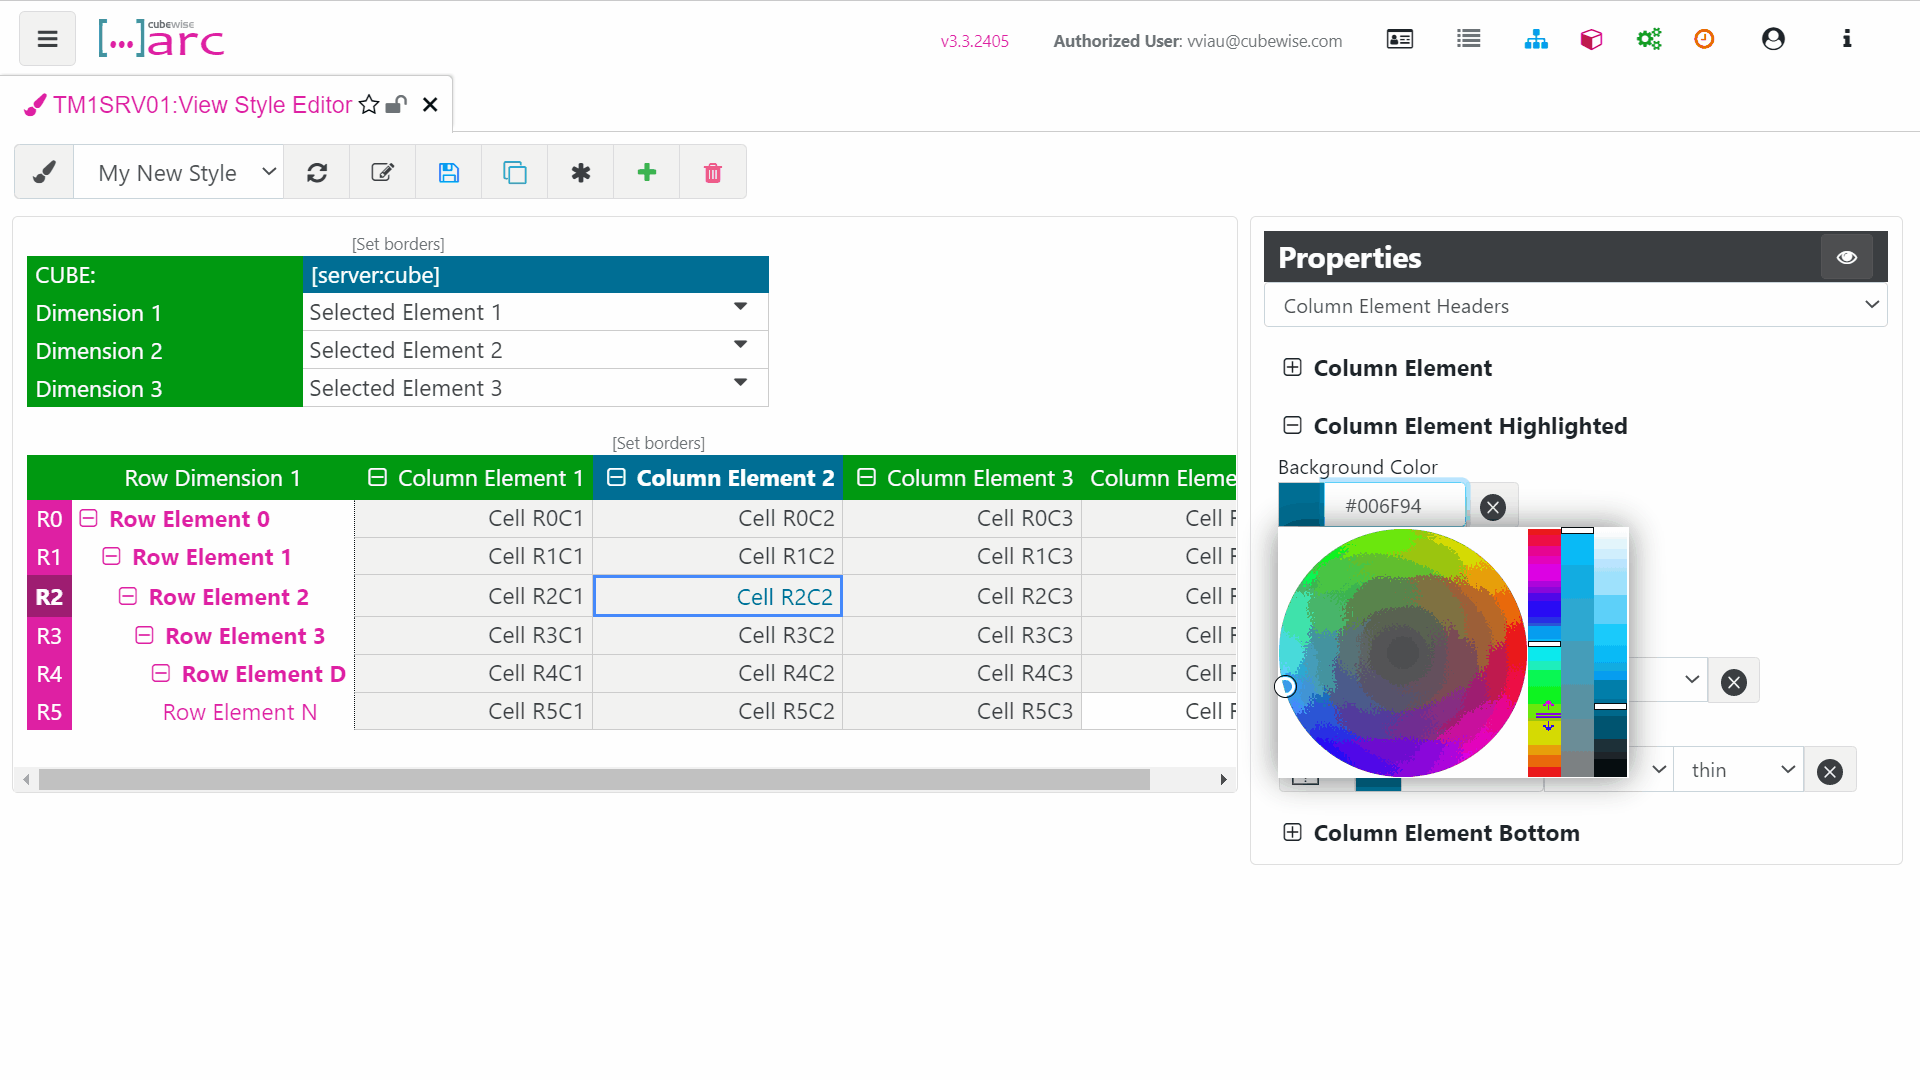
To edit only one property at a time, you can click on the view and the properties panel will show you the right property:
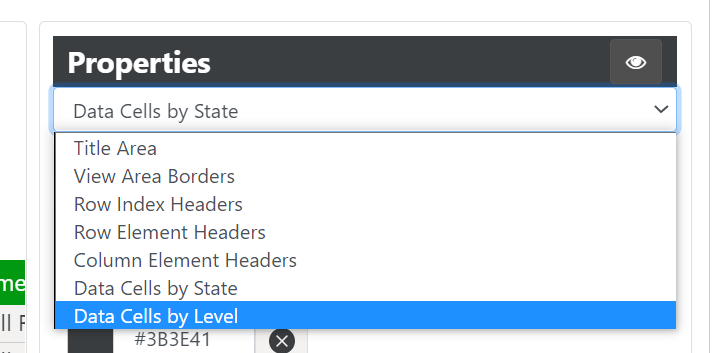
Editing cells by level
For example, you might want to show a specific color for all cells when the element on rows is level1:
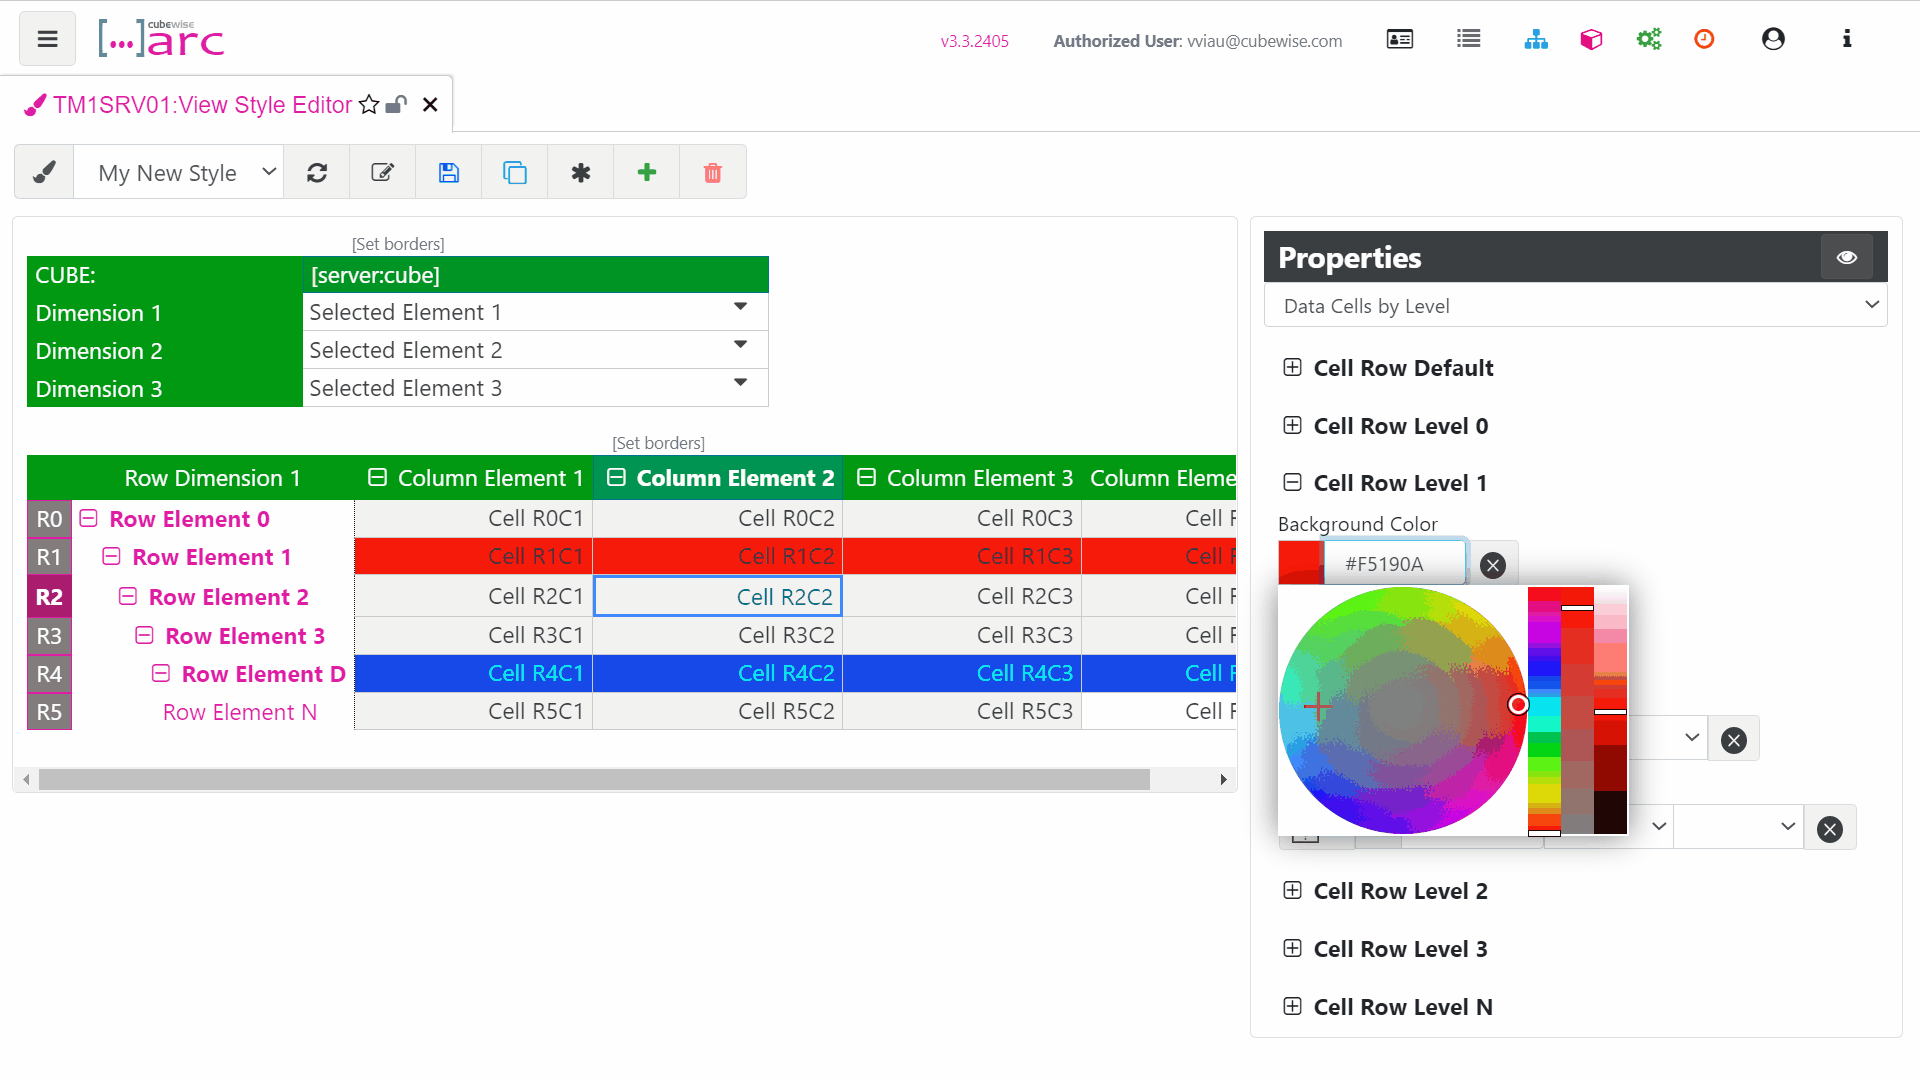
By default, when clicking on a cell, the properties panel will show the cells by state (Writeable or Non-Writable).
To see the cells by levels, you will need to select Data Cells by Level in the properties panel: